user account
Adding and Managing User Accounts on a Chromebook
Adding a new user to a Chromebook allows you to keep different individuals’ Google Chrome favorites, Android apps, and Google Drive documents in separate spaces. Unlike Windows and macOS, which require you to log in to an existing account to add a new one, ChromeOS makes this process simpler. You can add up to 19 accounts directly from the ChromeOS lock screen. Additionally, you can browse as a guest without using a Google Account. Here’s how to get started.
Adding a New User Account
- Power on Your Chromebook:
- After it boots up, don’t log in as usual. Instead, look at the bottom of your screen.
- Add a New User:
- Click at the bottom left where it says Add Person.
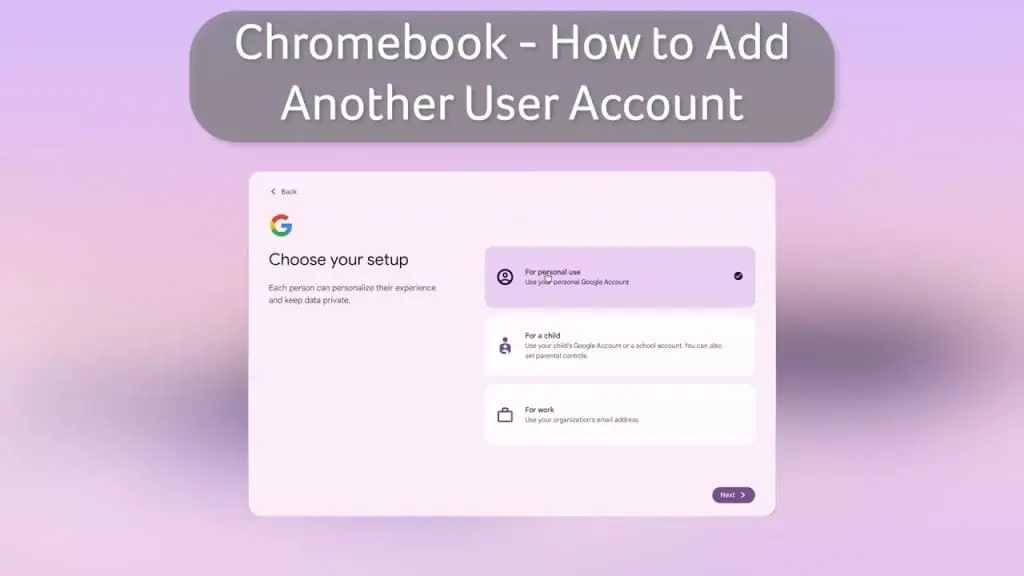
- Choose who is using the Chromebook, either You or A child. Selecting A child allows you to set extra rules for app and website access.
- Click the Next button.
- Sign In:
- Enter the sign-in information (a Gmail address) for the new user.
- If the user doesn’t have a Google Account, they can create one by clicking Create account and filling out the required information.
- Enter the password and follow the on-screen steps to personalize the Chromebook experience.
After adding the new user, you’ll see multiple users listed on your Chromebook lock screen each time you turn it on. Switch between users by clicking the profile icon and entering the respective password or PIN. Note that the sign-in screen displays up to 19 users; ChromeOS may delete an account automatically if you exceed this limit as a space-saving measure.
Browsing as a Guest
If you prefer not to sign in with a Google Account, you can browse as a guest:
- Turn on Your Chromebook:
- At the bottom left of the screen, click on Browse as Guest.
- Guest Session:
- Your Chromebook will log you into a guest browsing session.
- Exit Guest Browsing:
- Click on the date and time area and choose Exit guest.
When browsing as a guest, your browsing history and files won’t be saved once you exit the session. Make sure to save important files online via cloud storage or locally via a USB drive.
This guide should help you manage user accounts on your Chromebook efficiently. Enjoy the streamlined process and flexibility that ChromeOS offers!


