Understanding Hyper-Threading and Its Status on ChromeOS
Hyper-threading is Intel’s proprietary technology that enhances a CPU’s ability to handle multiple tasks simultaneously by splitting a single core into two virtual cores. This allows for more efficient task scheduling and increased concurrent computing power.
Why Is Hyper-Threading Disabled on ChromeOS?
Starting with version 74 in May 2019, Google disabled hyper-threading on ChromeOS by default due to security vulnerabilities collectively known as “ZombieLoad,” which affected several Intel CPU products. These vulnerabilities could potentially expose sensitive information, which, when combined with other exploits, could be accessed by malicious actors. To address the needs of users who rely on Chromebooks for heavy computing tasks, Google provided a backend toggle to enable hyper-threading while weighing the security and performance trade-offs.
Security and Performance Considerations
The ChromeOS development team continues to work on mitigating security threats associated with hyper-threading. Meanwhile, Intel has released patches to address the “ZombieLoad” vulnerabilities in affected products. While hyper-threading is currently limited to Intel’s Core series CPUs, Google is exploring the possibility of supporting multithreading on CPUs from other brands.
Benefits of Hyper-Threading
Hyper-threading can provide significant performance boosts, especially for tasks such as running virtual machines and gaming. The extent of these benefits depends on the number of processing cores that support hyper-threading and the specific applications or benchmarks being used. Generally, users can expect an uplift in performance in the double-digit percentage range.
Verifying Hyper-Threading Support
To check if your processor supports hyper-threading, you can look up its specifications on Intel’s online portfolio. Alternatively, you can install the Cog web app from the Chrome Web Store and check the CPU Usage section to see if there are inactive compute threads that could be activated by enabling hyper-threading.
How to Enable or Disable Hyper-Threading on ChromeOS

- Open Chrome:
- Launch a Chrome window.
- Access Feature Flags:
- Type
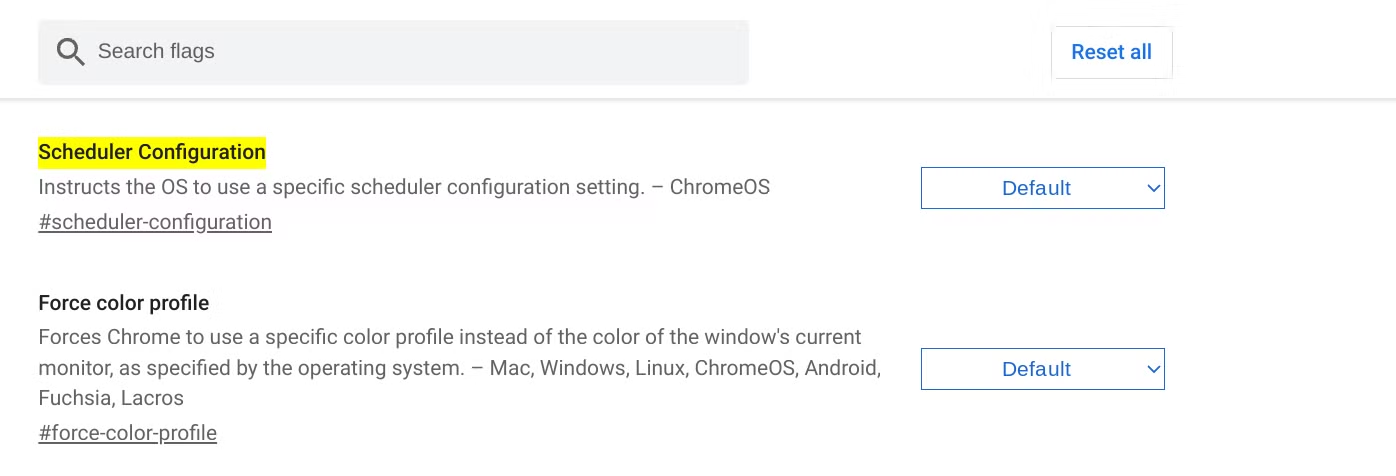
chrome://flags#scheduler-configurationinto the address bar and press Enter. - This will open a window with ChromeOS feature flags.
- Type
- Configure Hyper-Threading:
- Find the Scheduler Configuration flag.
- Click on the Default dropdown and choose either Enables Hyper-Threading on relevant CPUs or Disables Hyper-Threading on relevant CPUs.
- Click Restart to apply the changes.
By following these steps, you can manage hyper-threading on your Chromebook and enjoy the potential performance enhancements while being aware of the associated security considerations.


