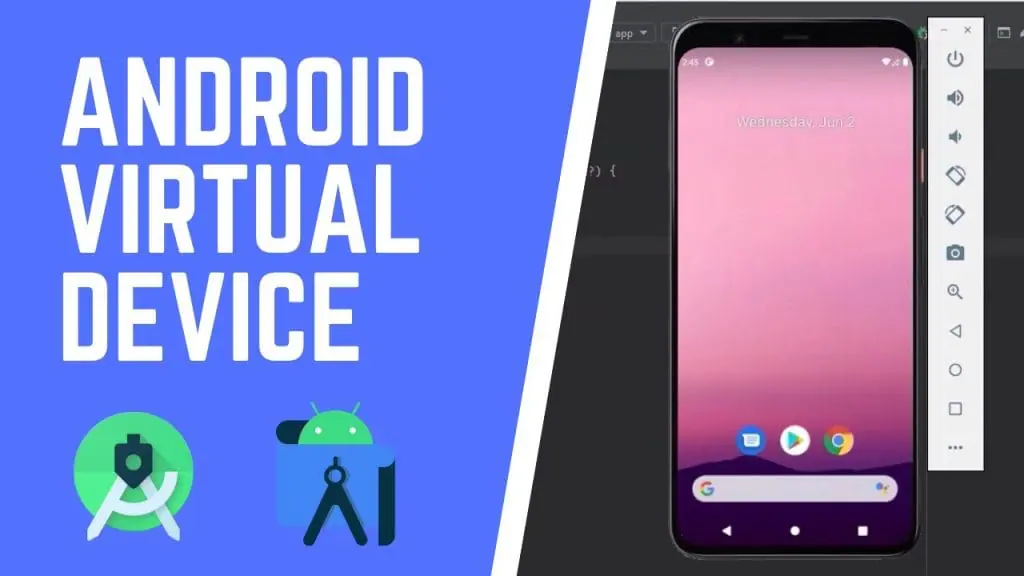
To run Android applications during development, an Android device is required. Android Studio provides an option to install an Android Virtual Device (AVD) to run your applications. Here’s how to install and set up an AVD:
Steps to Install Android Virtual Device
Step 1: Open Android Studio, go to Tools > AVD Manager.
Step 2: Click on Create Virtual Device.
Step 3: In the pop-up window, select the Phone category as we are creating an app for mobile, and choose the model of the mobile phone you want to install.
Step 4: Choose the Android version to download (e.g., Q, Pie, Oreo) and click the Next button.
Step 5: Click the Finish button to complete the installation.
Step 6: Select the virtual device you want to run as an emulator, then click on the Run icon.
Step 7: Your virtual device is now ready to run your Android app. Enjoy developing and testing your app in the virtual environment!


